- No products in the cart.


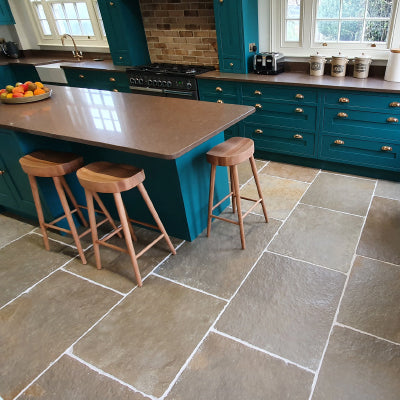
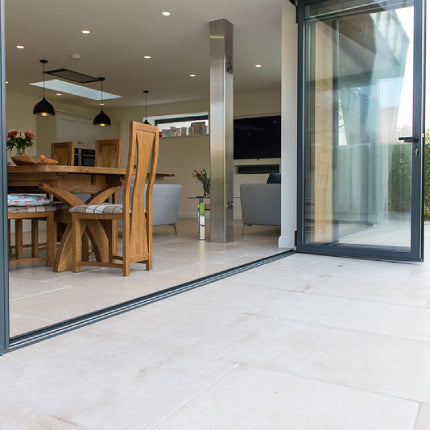
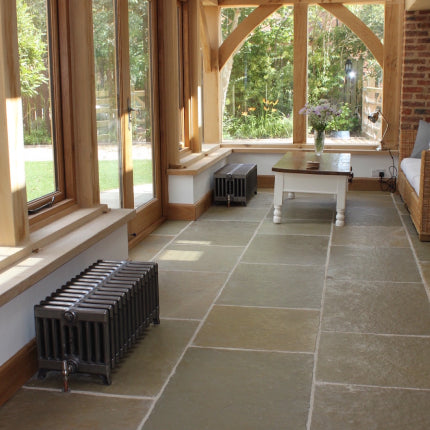


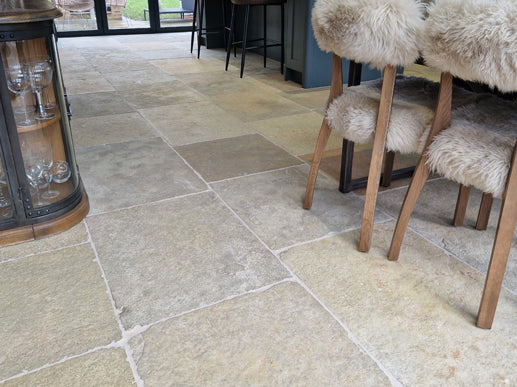
Here at Natural Stone Online Ltd our dedicated team have carefully selected from around the world a collection of premium natural stone products to suit every stone tiling project in your home. Whether this is a kitchen floor, a small boot room or utility, bathrooms, external patios, feature walls or full ground floor renovation projects we have something to suit all contemporary, traditional and classical aesthetics. Our online store is conveniently sorted by material as well as room collections so you can easily find what you are looking for. Our dedicated sales team are here to help you with expert advice and we always welcome our customers to visit us at our showroom in York.